
Even though this chicken takes a few hours to roast, it’s so easy and yummy! My family has always raved about it — and it’s easy to roast 2 chickens at once if the extended family is joining us. Hence the need for the turkey roaster.
There is something about a roast chicken that just feels like home. The smell alone is worth the effort. But here’s the secret — the effort is actually minimal. The oven does all the heavy lifting on this one.

What You’ll Need
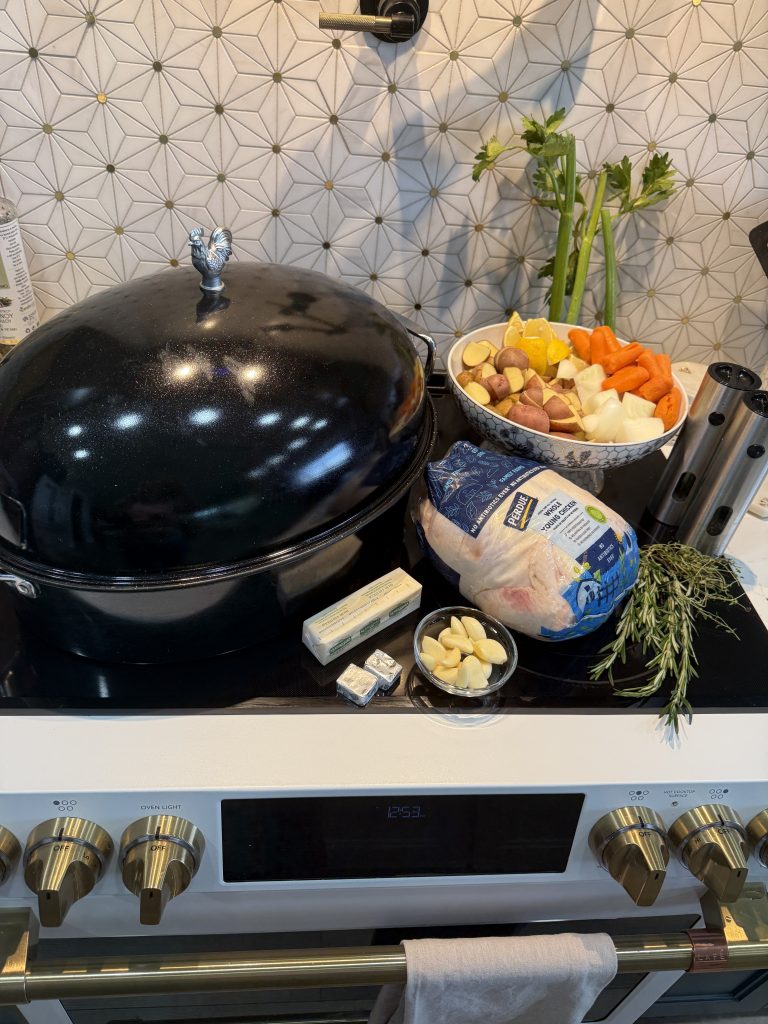
This isn’t a recipe that requires precise measurements — it’s a recipe that requires good ingredients and a little confidence. Here’s what goes in:
The Chicken
- 1 whole chicken (or 2 if you’re feeding a crowd)
The Cavity Stuffers
- Lemons, quartered
- Onions, quartered
- Fresh garlic
- Butter — I use Kerrygold unsalted
- Fresh herbs — I used rosemary and thyme this time
The Roasting Pan
- Carrots
- Potatoes
- Onions
- Celery
- Fresh garlic
- Chicken bouillon — paste or cubes both work great
The Finishing Touches
- Butter — more Kerrygold, more pats, no regrets
- Fresh herbs
- Olive oil
- White wine
- Water
- Salt and pepper — generously, always
Let’s Make It
Step 1 — Prep the Cavity
After removing the gizzards and neck from the chicken cavity, generously salt and pepper just the inside. Then add your quartered lemons, onions, garlic, a few pats of butter, and your fresh herbs. Don’t be shy with any of it.
Step 2 — Build Your Base
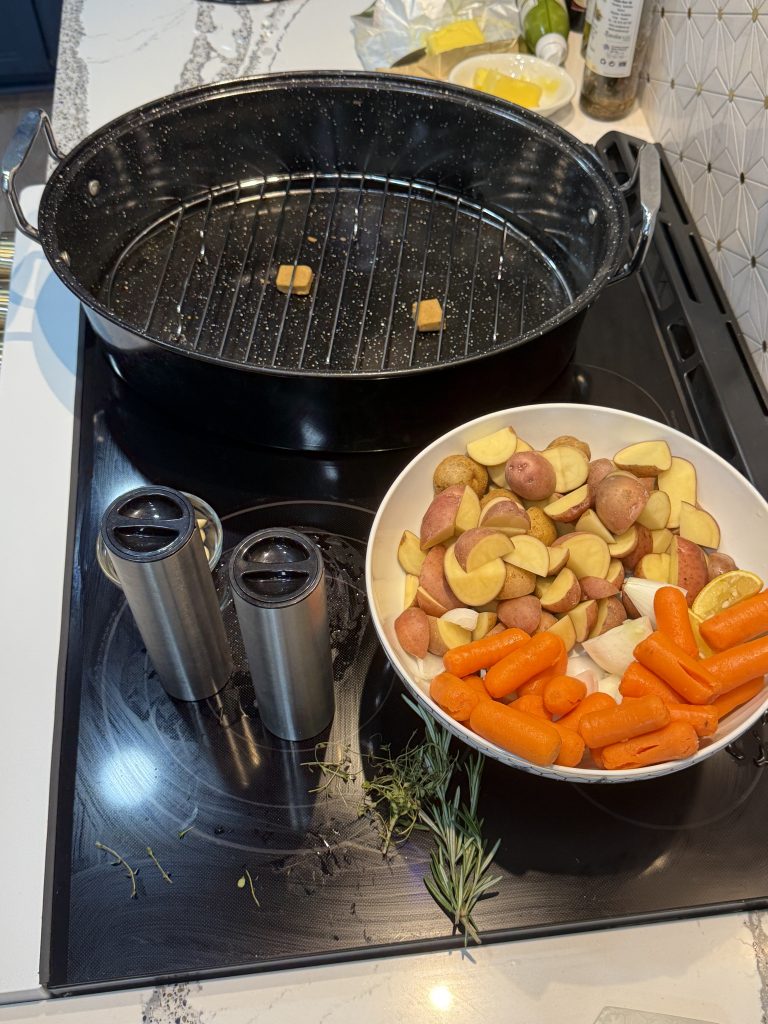
Throw the chicken bouillon cubes or paste right into the bottom of the roaster. Between the liquids we’ll add later and the natural chicken juices, this is going to create an amazing broth full of flavor. Add your potatoes, carrots, remaining onions, remaining garlic, and celery to the bottom of the roaster. Generously salt and pepper everything.
Step 3 — Dress the Bird
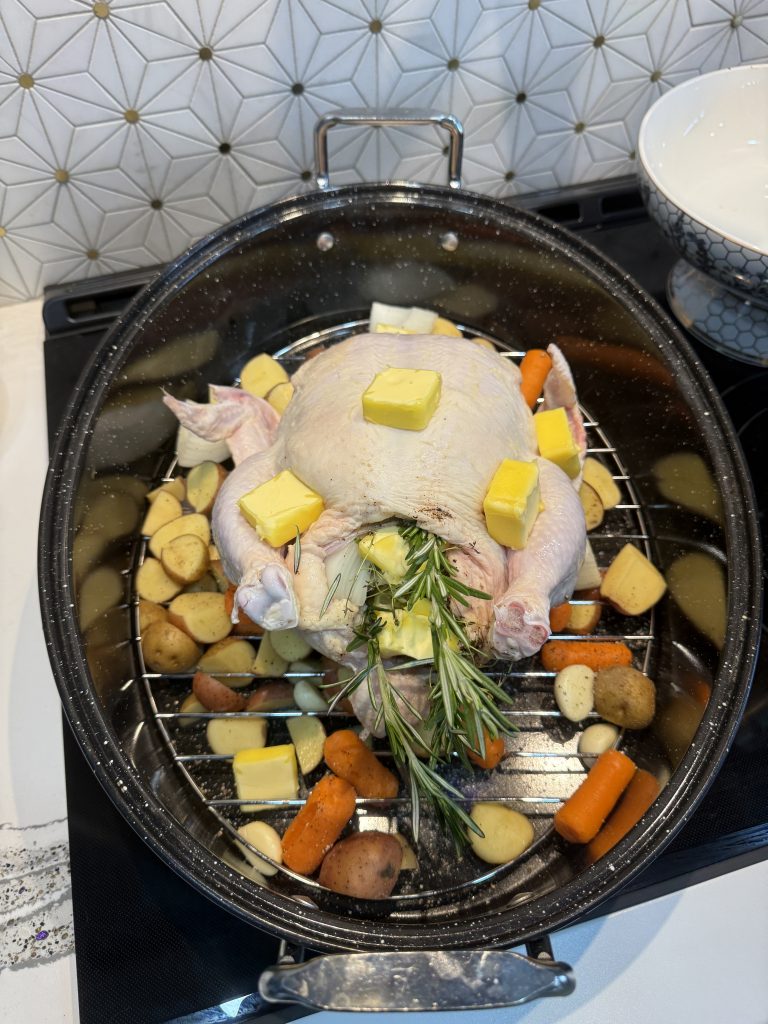
Place the remaining pats of butter on top of the chicken and around the pan. Add extra herbs here too — I always do. Lightly drizzle olive oil over the top of the chicken. This helps prevent burning since it’s topped with butter. Smart trick that makes a big difference.
Step 4 — Add Your Liquid
Add water and white wine to the bottom of the pan — about a half inch of liquid. This keeps the chicken perfectly moist throughout the roasting process.
Step 5 — The First Roast
My oven has a convection roast setting. I turn it to 400 degrees and place the chicken in the oven uncovered for 30 minutes. This allows the inside temperature to heat up and helps form a beautiful skin — which also seals in all those juices.
Step 6 — Baste and Cover
After 30 minutes, remove the chicken from the oven and baste it with the liquid that’s already forming in the bottom of the pan. Cover it, return it to the oven, and drop the temperature to 350 degrees for 1 hour and 30 minutes.
Do not remove the lid during this time. The juices will self-baste the chicken and lock in every bit of moisture. Trust the process.
Step 7 — Rest the Chicken
When the timer goes off, remove the chicken from the oven — but keep that lid on. Let it rest for at least 30 minutes with the lid on before carving. This step matters more than people think. Don’t skip it.
Step 8 — Carve and Serve

How I Serve It
Because the vegetables are already roasting right there in the bottom of the pan, I usually just serve everything with a good crusty bread and call it a meal. Simple and perfect.
If we’re feeding a crowd I’ll make mashed potatoes alongside and whip up a gravy right from the chicken juices in the pan. My adult kids still love chicken gravy on their mashed potatoes — and honestly, so do I.
Don’t Waste a Single Bit
Once you and your family have enjoyed the chicken, cut off the remaining meat for leftovers, soups — or your four-legged children. Our dogs absolutely love the brown meat! (See Tito and Stella’s Homemade Dog Food for inspiration on what to do with those leftovers.)
And whatever you do — do not throw that carcass away. Put it in a baggie and freeze it. Next time I’ll share my homemade bone broth recipe, and that carcass is exactly what you’ll need. 🍗
One last thing……enjoy the way your home smells!
— Beth